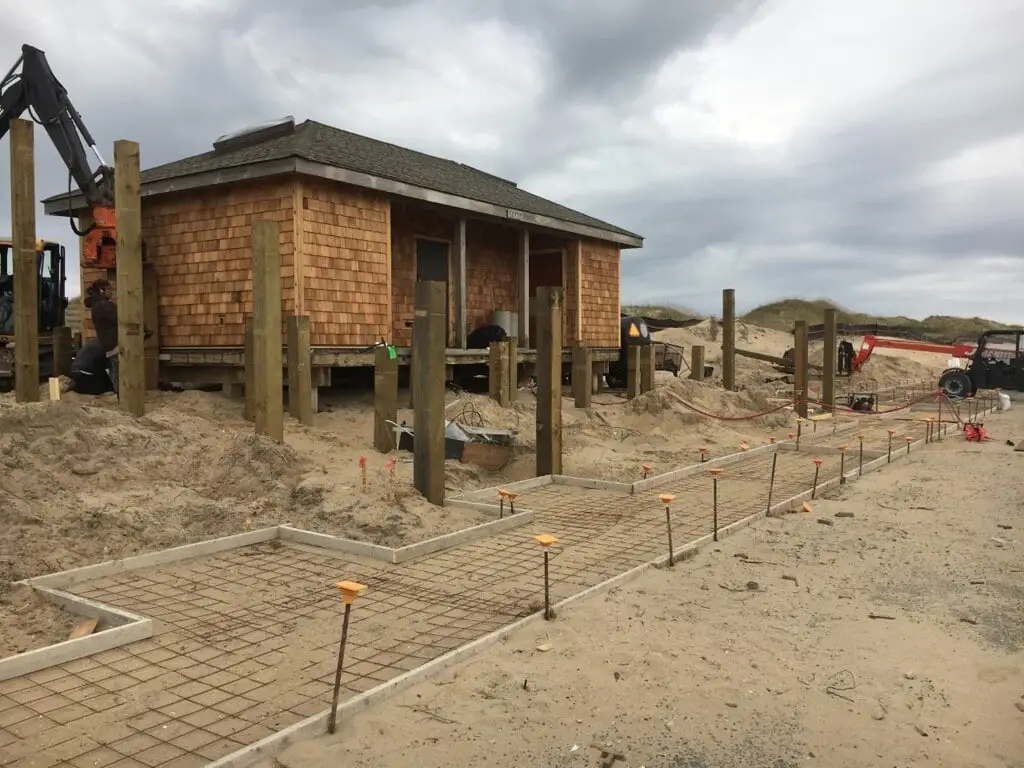
A concrete slab is mostly invisible once it’s done. You see the surface, but whether it lasts depends on things buried underneath it or settled before construction started: the scope, the base, the drainage, the joints and the cure. Here is how to think through a project in Centerville from the first idea to the first time you walk on it.
1. Define the purpose and scope
Start by writing down what the concrete needs to do, not just what it should look like.
- What will use it? Foot traffic, patio furniture, a hot tub, cars, a work truck, an RV? Loads drive thickness, reinforcement and base requirements.
- How big does it really need to be? Mark the outline with string or marking paint and live with it for a few days. Park the car, set out the furniture, walk the route.
- What’s changing? New concrete, replacement, widening, or a mix? Replacement and widening come with demolition and joint-matching questions.
- What else is nearby? Steps, walkways, window wells, downspouts, fences, gates and sprinklers all affect the layout.
- What finish do you want? Broom finish, exposed aggregate or stamped and decorative concrete each change cost, traction and maintenance.
A clear scope is the only way to get quotes you can compare fairly.
2. Check site access
Concrete is heavy and time-sensitive. Before anyone quotes, consider how equipment and concrete will reach the work area:
- Can a concrete truck get close enough to reach the pour, or will it need a pump or wheelbarrows?
- Are there overhead lines, trees, fences or narrow side yards in the way?
- Will trucks cross an existing driveway, lawn or sprinkler system that could be damaged?
- Is there somewhere to stage forms, base material and a dumpster or trailer for demolition debris?
Access problems don’t usually stop a project, but they change the method, the crew size and the price.
3. Plan demolition and haul-away
If old concrete, asphalt, pavers or sod are coming out, the quote should say who removes them and where they go. Thick or heavily reinforced concrete takes longer to break out. Demolition is also when hidden problems appear: soft soil, old debris, voids under the slab, or tree roots. Ask how those will be handled if they’re found.
4. Grading and base preparation
This is the step that prevents most settlement cracks. A typical sequence:
- Remove topsoil, organic material and any soft or unsuitable soil.
- Shape the subgrade to the planned slope and compact it.
- Place a gravel base and compact it in layers to the planned depth.
- Set forms to the finished grades.
The right base depth depends on the soil and the loads, so it varies from project to project. What matters is that the contractor can explain their plan and why it fits your site. Centerville stretches from the flatter ground near I-15 up toward the Wasatch foothills, so lot slopes vary widely; a sloped lot may need more grading, steps or retaining to create a usable, well-drained surface.
5. Drainage: decide where the water goes
Concrete doesn’t absorb water, so every square foot you pave sends rain and snowmelt somewhere else. Centerville’s drainage information defines impervious surfaces to include concrete paving, walkways, patios, driveways and similar hard surfaces. According to the city’s drainage page, single-family homes pay a flat drainage fee, while other property types are billed based on their impervious area, so new pavement on commercial or multifamily property can affect utility charges.
On any property, plan for:
- Slope away from buildings. Surfaces next to the house should carry water away from the foundation, window wells and garage.
- A destination. Water should drain to the street, a lawn or landscaped area that can absorb it, or a planned drainage feature, not onto a neighbor’s lot.
- Downspouts and irrigation. Don’t let a downspout or sprinkler dump water at the edge of a new slab, where it can soften the base.
- Winter. Low spots that hold water turn into ice patches and accelerate freeze-thaw damage.
6. City requirements: permits, approaches and park strips
Requirements depend on the project, and they change over time, so treat this as a map of where to ask, not a ruling on your project. Confirm current requirements with Centerville City before construction.
- Driveway approaches. The approach connects your driveway to the street across the curb, gutter and sidewalk area. Centerville City Public Works provides an Approach Permit Application and a document describing what plans for a drive approach must include. Widening a driveway, moving a curb cut or replacing the approach are the most common triggers for this conversation.
- Park strips. Public Works also provides a park strip application for work in the strip between the sidewalk and the street.
- Excavation in the right-of-way. Public Works offers excavation and open-cut permit applications for digging that affects public streets or utilities.
- Buildings and structures. The city’s Building and Renovating division reviews building permits for projects such as garages, accessory buildings, decks, retaining walls, grading and similar improvements. If your slab is part of one of those projects, it may be part of that review.
- Zoning and setbacks. Setbacks, fencing and retaining walls, and where certain vehicles can be parked are governed by city code. The Centerville Municipal Code and the Planning and Zoning department are the places to check.
- HOAs. If your neighborhood has an HOA, its rules may add requirements for materials, colors or parking pads.
Useful starting points: Centerville City Public Works and Building and Renovating.
7. Call Blue Stakes before anyone digs
Utah law requires notifying Blue Stakes of Utah 811 before excavation so underground utilities can be marked. The service is free, and Blue Stakes asks for notice at least three business days before digging. Utility marks cover public lines; private lines such as sprinkler pipes, landscape lighting or a line to a detached garage may not be marked, so point those out to your contractor.
8. Reinforcement, placement and finishing
On pour day, the concrete is placed, screeded to grade, floated and finished. A few details deserve attention in advance:
- Reinforcement. Rebar, wire mesh or fibers are used depending on the design. Ask what’s planned and how it will be positioned within the slab rather than lying on the ground.
- Mix. For exterior concrete exposed to freezing, ask whether the mix is air-entrained. See the guide to concrete and Utah weather.
- Control joints. Joints guide the cracking that comes with shrinkage into straight lines. Industry guidance such as NRMCA’s CIP 6 covers joint spacing and depth; ask how the joints will be laid out and when saw cuts will be made.
- Finish. A broom finish improves traction on driveways, walks and steps.
9. Curing and the first few weeks
Curing means keeping enough moisture and warmth in the concrete while it gains strength. It’s easy to overlook because nothing appears to be happening, but it has a large effect on surface durability. Methods include curing compounds, wet curing and covers. Hot, dry or windy weather dries the surface quickly, and cold nights slow strength gain, so the plan should match the forecast.
After the pour, ask your installer:
- When can people walk on it? When can cars, trucks or heavy equipment use it?
- When can furniture, a hot tub or a shed be set on it?
- When and with what should it be sealed?
- What should you avoid during the first winter (for example, certain deicers)?
10. Scheduling around Centerville’s seasons
Late spring through early fall usually gives the easiest weather for concrete, which is also when contractors are busiest. Cold-season pours are possible with precautions such as heated or insulated protection, and summer pours need attention to heat and fast drying. Starting early gives you time to handle city requirements and get on a contractor’s schedule.
Questions to ask before work begins
- What is included in the quote, and what isn’t (demolition, haul-away, permits, backfill, cleanup)?
- How deep will the base be, and how will it be compacted?
- How thick will the slab be, and what reinforcement will be used?
- Where will the joints go, and how will they be cut?
- How will water drain off the finished surface?
- Is the mix air-entrained for freeze-thaw exposure?
- How will the concrete be cured and protected for the expected weather?
- Who handles city requirements and utility locates?
- What warranty, if any, is offered, and what does it cover?
- Can you verify the contractor’s licensing and insurance? (Always check independently.)
A simple planning checklist
- Write down the purpose, size, finish and loads.
- Mark the outline on site and check access.
- Note drainage: where water goes now and where it will go after.
- Check city requirements for approaches, park strips, structures and setbacks.
- Request quotes with the same scope, and compare the details.
- Confirm utility locates before excavation.
- Plan curing, first-use timing and sealing.
When you’re ready, you can request a quote and a local concrete professional can follow up to talk through your project.