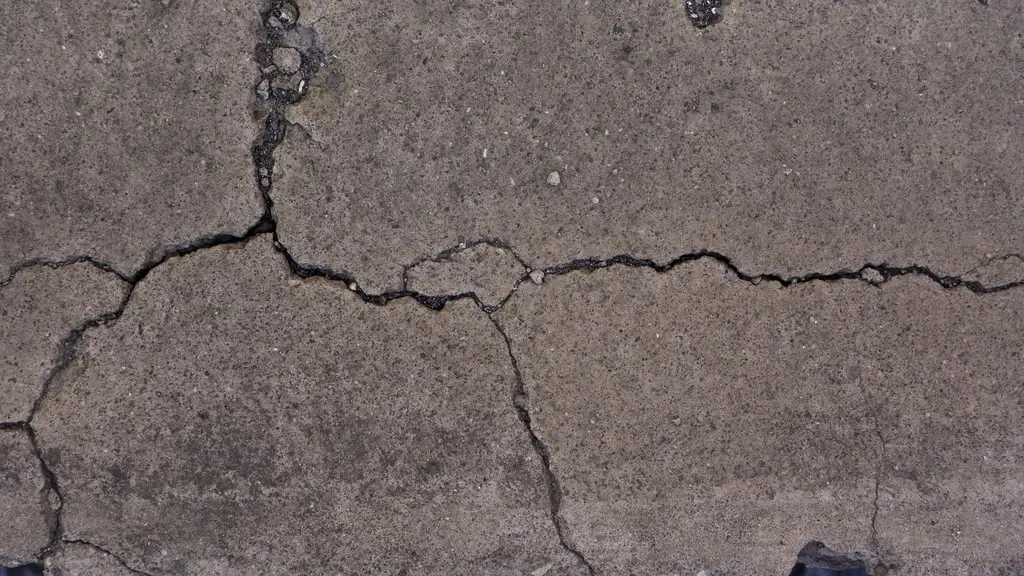
Replacing a concrete driveway is one of the biggest upgrades you can make to your home’s curb appeal, and done right, it’s a once-in-decades project. It’s also more involved than most people expect: the old concrete has to come out, the ground underneath gets corrected, and the new slab needs time to cure before you can use it.
Here’s what to expect, and what you can do to make the process easy.
Step by step: how a driveway replacement works
Every project is a little different, but most residential driveway replacements in Centerville and Davis County follow the same sequence.
1. Site visit and estimate
We come out, measure, and look at the slope, drainage, access for equipment, the street approach and what’s under the old driveway if we can tell. This is also when we talk about widening, finish options (broom, exposed aggregate, color or stamped borders) and anything you’d like to change. You get a free written estimate.
2. Permits and utility marking
Work where the driveway meets the street can involve city requirements. In Centerville, Public Works provides an Approach Permit Application and drive-approach plan requirements, and other cities have their own rules. Before any digging, underground utilities are marked through Blue Stakes of Utah 811. The service is free, and Blue Stakes asks for notice at least three business days before excavation.
3. Tear-out
The old concrete is broken up and hauled away. This is the loudest and messiest day of the job.
4. Base correction
This is the most important step, and the one you’ll never see again. Soft or poor soil is removed, the subgrade is graded so water drains away from the house, and a gravel base is placed and compacted. A weak or uneven base is the most common reason driveways crack and sink, so this is where a new driveway earns its lifespan.
5. Forms and reinforcement
Forms are set to the final shape and slope, and reinforcement is placed as the design calls for. Joints where the driveway meets the garage, sidewalk and street are planned so each piece can move independently.
6. Pour and finish
The concrete is placed, leveled and finished. For Utah driveways we use air-entrained concrete for freeze-thaw durability. Control joints are cut or tooled in so shrinkage cracks form along straight, planned lines instead of randomly across the slab.
7. Curing
Curing keeps enough moisture in the new concrete, at a reasonable temperature, for it to reach its intended strength. It’s critical in Utah’s dry summers and slow in cold weather. We’ll tell you how to care for the slab during this period.
How to prepare your property
A few things on your end make the job faster and protect your yard:
- Plan where to park. You won’t be able to use the driveway from tear-out until the concrete is ready for vehicles. Plan to park on the street or a neighbor’s driveway, and check HOA rules and any city overnight or winter parking restrictions.
- Get things out of the garage. If you’ll need your car, tools or anything else from the garage during the project, move them out ahead of time.
- Clear the area. Move vehicles, trailers, trash cans, planters, basketball hoops and anything along the edges of the driveway.
- Mark sprinklers and low-voltage lines. Flag sprinkler heads near the edges and let us know where lines run under or along the driveway, along with landscape lighting, invisible dog fences and similar lines.
- Think about landscaping. Plants and edging right against the driveway may get disturbed during tear-out and forming. Move anything you want to protect.
- Keep gates and access open. Equipment and concrete trucks need a clear path. Let us know about narrow side yards, low trees or soft lawn areas.
- Give your neighbors a heads-up. Tear-out day is loud, and trucks may be parked on the street.
- Plan for pets and kids. Keep them away from the work area and off the fresh concrete. Paw prints and initials are permanent.
How long it takes
The hands-on work for a typical residential driveway often takes a few days: tear-out, base work, forming and the pour. Larger driveways, difficult access, approach work at the street, or weather can stretch that.
Then comes curing. As a general guide:
- Foot traffic: usually after a day or two
- Passenger cars: often about a week
- Heavy trucks, trailers and RVs: longer
Cold weather slows strength gain, so fall and winter projects may need more time. We’ll give you a specific schedule for your project.
After the pour: caring for your new driveway
- Keep traffic off until we say it’s ready, and keep heavy vehicles off longer.
- Avoid deicing salts during the first winter. Use sand for traction and shovel promptly.
- Don’t park on the edges at first. Edges are the most vulnerable part of a new slab.
- Seal it when the time is right. Our concrete sealing guide explains when and how.
- Watch drainage. Make sure downspouts and sprinklers don’t dump water onto or under the new slab.
Questions to ask before you start
Whoever you hire, a good estimate should answer these:
- How will the old driveway be removed, and what’s included in hauling?
- What base depth and compaction are planned, and how will drainage be handled?
- What thickness and reinforcement will be used, and is the mix air-entrained?
- Where will joints go, and how will the driveway tie in to the garage, sidewalk and street?
- Who handles any permits and the Blue Stakes request?
- When can I walk on it, drive on it and seal it?
Ready to replace a cracked, sunken or worn-out driveway? See our concrete replacement and driveway pages, then request a free estimate or call (801) 590-4185. We replace driveways across Centerville, Davis County and the Wasatch Front.